The Parkside wood stain, sold under the Lidl brand, attracts attention with its low price and generous packaging. Before applying it to a terrace, a shutter, or a fence, it’s better to understand what truly makes the difference between a consistent result and a film that peels off after a few months. The answer lies less in the product itself than in three preparation steps that most DIYers underestimate.
Intermediate sanding and wet edge: two gestures that change everything
Have you ever noticed marks from touch-ups on a freshly stained terrace board? These marks appear when the product starts to dry before the neighboring board is treated. The edge of the dry area then forms a visible thickness.
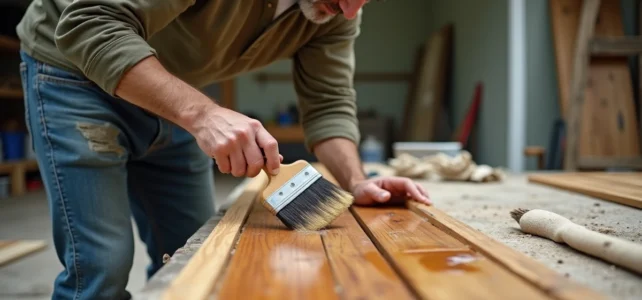
The solution is simple: maintain a wet edge at all times. In practice, work board by board, without stopping in the middle of an element. Apply the stain along the grain of the wood, in thin and even passes, from one end of the board to the other.
The second often overlooked gesture is intermediate sanding between coats. When in contact with the product, the wood fibers slightly raise. A light sanding with fine paper, once the first coat is dry, breaks these fibers and gives a smoother surface. The second coat adheres better, and the final touch is significantly more uniform.
To delve deeper into user feedback, several detailed tests compile reviews of the Parkside wood stain that confirm the importance of these two gestures on the final result.
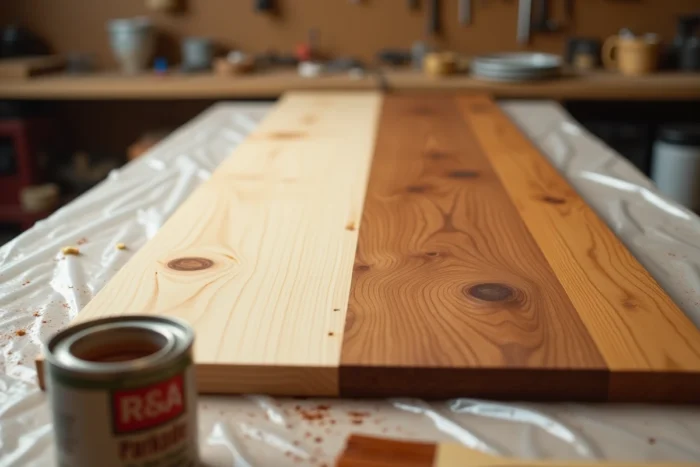
Parkside stain on old wood: the compatibility trap
Applying a new stain on already treated wood poses a problem that product sheets do not always address. If the old finish is peeling, you need to return to raw wood. No shortcuts. Applying Parkside stain over peeling flakes is like sticking a stamp on sand.
If the old finish is still adherent, a simple sanding is generally sufficient. The goal is to create a micro-roughness so that the new layer adheres. However, exotic wood or oil-treated wood requires prior degreasing. Resins and greasy substances prevent the stain from penetrating the fibers.
How can you tell if the old treatment is compatible? Conduct a test on a small, inconspicuous area. Apply the stain, let it dry, then scratch with your nail. If the film comes off in flakes, the surface is not ready.
Preparation of the substrate above all
The final result depends more than half on the work done before opening the can of stain. Here are the steps not to skip:
- Thoroughly clean the wood to remove dust, moss, and greasy residues, as even the slightest particle creates an adhesion defect under the stain layer.
- Sand along the grain with medium grit, then finish with fine grit to smooth the surface without scratching the wood.
- Dust carefully after sanding, ideally with a damp cloth followed by a dry pass, so that the stain penetrates evenly into the fibers.
- Check the moisture content of the wood: a substrate that is too damp prevents the stain from drying properly and promotes blistering.
Ease of application of Parkside stain compared to specialized brands
The Parkside stain is positioned in the entry-level segment. Its main advantage remains the price, significantly lower than that of stains from brands like V33 or Bondex. The question that needs to be asked: is this savings paid for at application?
In practice, the viscosity of Parkside stain is slightly more fluid than that of high-end references. This presents an advantage for beginners: the product spreads easily with a wide brush. The downside is that a too generous coat causes drips, especially on vertical surfaces like shutters or fence posts.
Stains from specialized brands often offer a thicker consistency that “forgives” dosage errors more. They also contain UV filters and fungicidal agents whose concentration varies from one range to another. In this regard, the durability of Parkside stain depends greatly on the number of coats applied. Two thin coats remain the minimum for adequate outdoor protection.
When to favor Parkside stain
This product makes the most sense on surfaces that you plan to re-treat regularly, such as a fence or a garden shed. The reduced cost allows for renewing the application every year or every two years without straining the budget.
For a wooden shutter exposed to full sun or a heavily used terrace, a stain with a higher concentration of polyurethane resins and UV filters will yield a more durable result. The extra cost pays off with a longer interval between two applications.

Weather conditions and drying: the factor everyone forgets
Applying a stain in too hot weather accelerates surface drying and traps solvents inside the film. The result: blisters that appear a few days later. Conversely, too low a temperature slows drying and makes the film sticky.
The ideal window is during dry weather, without strong winds, with a moderate temperature. The wood should not be exposed to direct sunlight during application. Working early in the morning or late in the afternoon on an east-facing facade avoids this problem.
One last often overlooked point: the drying time between coats. Applying the second coat too early traps moisture. Too late, the first coat is too smooth for the second to adhere, hence the importance of the intermediate sanding mentioned earlier.
The Parkside stain fulfills its role for common projects, provided that you do not skip the preparation of the wood. Sanding, dusting, intermediate sanding between coats, suitable drying conditions: these gestures transform an economical product into a durable finish. The most expensive pot on the shelf will never make up for a poorly prepared surface.